
How to Start Vegetable Seeds at Home
Posted by Scott Veriha on Jan 19th 2024
Gardens can be as big, or as small, as you can manage. Meaning that your garden should never be bigger than you have time to take care of it. A small, well taken care of, garden will out produce a large, poorly maintained, garden, every time! You garden can consist of buckets and containers, raised beds, or a large tilled up plot of ground. No matter what size garden you create, you can grow at least a little bit of fresh food for you, and your family. I grow a large garden, and then can, and dehydrate, everything that I can lay my hands on. My own produce, no matter how I preserve it, always tastes so much better come the cold months than anything in the stores. I’m also in the process of building a root cellar for cold storage, but that is a topic for another day.
My garden planning needs to start at the end of the previous season. I like to take that time to review what grew well, what had problems, and what yielded the best with the best flavor. I take notes, figure out what seeds I may be low on, and jot down a list of projects that need to be accomplished for the following year. Seed orders are put in right after the Christmas holiday, and because I like to grow hot peppers; Carolina Reapers, Habaneros, etc., I need to get those transplants started in Jan, as they are slow to germinate, and slow to grow. While our greenhouses and nurseries do a very good job of getting a quality product out to gardeners in a timely manner, and at great prices, for the amount of work they put into their operation, there is no way that any nursery can carry every variety out there, and besides, it is nice to have something green growing during the cold months. Carolina Reapers are very hard to come by, buying the transplants from one of the few suppliers is expensive, and then there is shipping costs. To that end, several years ago, I started growing my own transplants for my gardening needs.
Growing transplants is pretty easy to do, but there are three things that really need to be provided; light, heat, and sterile soil. I know too many people that have started a tray of tomato seeds in a south facing window, and then wondered why they germinated, sprouted, bent over towards the window, and then fell over. The secret here is light. Plants need much more light, and for more hours of the day, than the sun can provide thru a window in our northern latitudes. Your lights do not need to be fancy, two, forty-watt fluorescent bulbs, suspended directly over the seedlings for 12 to 14 hours a day will satisfy their need for light. If you want to give them a little more natural light, a full spectrum, or grow type, bulb will provide a light that is closer to sunlight. I currently run light fixtures that hold four bulbs, two grow lights, and two just regular white lights. I also converted everything over to LED bulbs several years ago and they work just fine, and use a little less electricity. A simple timer will keep your lights coming on at the same time every day, and for the correct amount of time. I always keep my lights just above my plants, when they grow up to touch the lights, then I move them up a little bit. The key here is to keep the lights close, and the plants will grow a sturdy stem that will hold them upright.
Heat is not needed for every seed to germinate, and depending on how warm you keep your grow location, you may not need to provide additional heat. Heat mats can get pricey quick as there are various size options, and even heat mats with variable output controllers. Some seeds need a higher temp to germinate, then a little cooler temp to help them come up out of the soil. Do not worry, most of your common garden transplants do not need that amount of control. I use simple heat mats for my initial sprouting, and once the plants are up about an inch, I remove them from the heat.
Sterile soil is the third key item, and often the most overlooked. You can make your own soil mix, and there are many recipes on the internet. If you make your own, and you want to use some of the soil from your garden, you will need to bake that soil in your oven in order to kill any unwanted bacteria, fungus, and other unwanted small organisms. If you do not you risk many unwanted growths that will compete with, and sometimes kill, your transplants. I will forewarn you, baking soil does not smell good, my grandmother always called it, “baking worms”. I find it easier to just buy a quality seed starting mixture, there are many to choose from, and a good size bag lasts me 2 to 3 years as I grow 300 to 400 transplants a year.
There are several other things that I will briefly mention here. You are going to need a source of chlorine free, room temperature water, and you will have to water your transplants almost daily. If you have chlorinated water, you can let it sit in an open container overnight, or add a commercially available chlorine remover. Chlorine remover can be purchased from most pet supply stores as it is used by aquarium keepers. Because your transplants are being grown in very little soil, they need to be watered often, and kept moist, but not water logged. It only takes a few hours to go from wilted to dead in that small volume of soil. The last thing about watering, use the clear plastic covers that come with your seed starting trays during the germination phase.
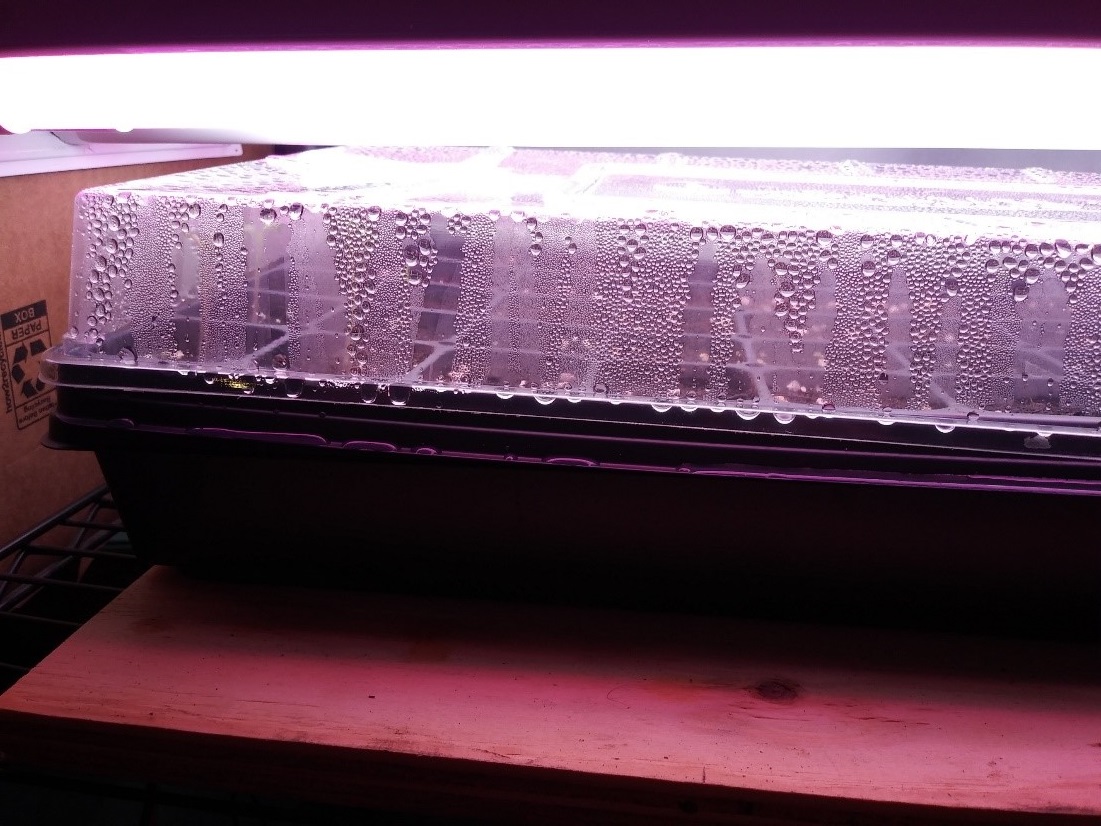
Above Picture: Clear plastic dome shown being a mini greenhouse.
They create a mini greenhouse that traps in the water. If you were to water your unsprouted seeds every day, you keep cooling them off every time you water, slowing down germination. The domes allow you to go several days without adding more water. Once all the transplants are up, you can remove the cover and then start checking and watering daily
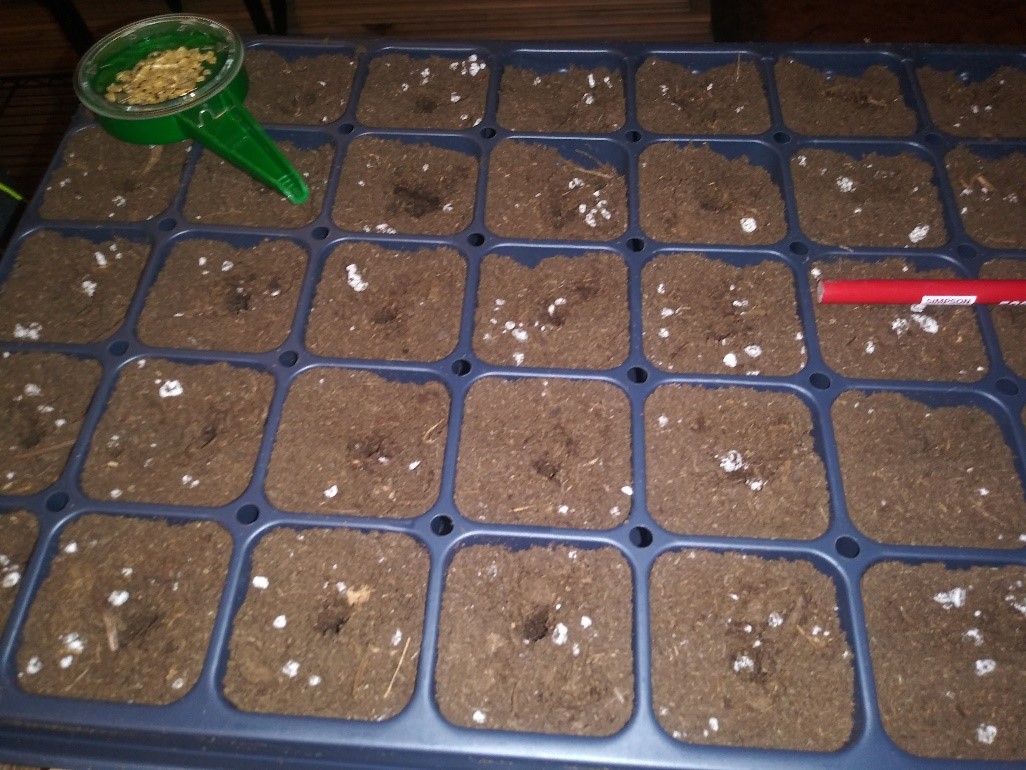
Above Picture: Five by ten cell starting tray, with premixed starting mix. Planting Carolina Reapers.
Seed starting trays, flats, and domes come in many shapes and sizes, pick the size that matches your growing space, and the foot print of your light setup. The seed catalogs will also discuss which number of cell inserts are best for starting your different crop options. It is simple to figure out, but it is something that is unique to each gardener. For many years I made my own soil cups out of newspaper, they were simple and cheap, but only gave me one or two size options. I cut strips of newspaper, and wrapped them around a soda can, taped the seam, and then folded the extra around the bottom of the can and taped that. You then pull the seed pot off the can. If you try that method make a mark on the side of the can so that you get a consistent height of your cups, while still allowing enough excess to fold under and make the bottom. Also, take a nail and punch a hole in the bottom of the pop can, trust me on that one.
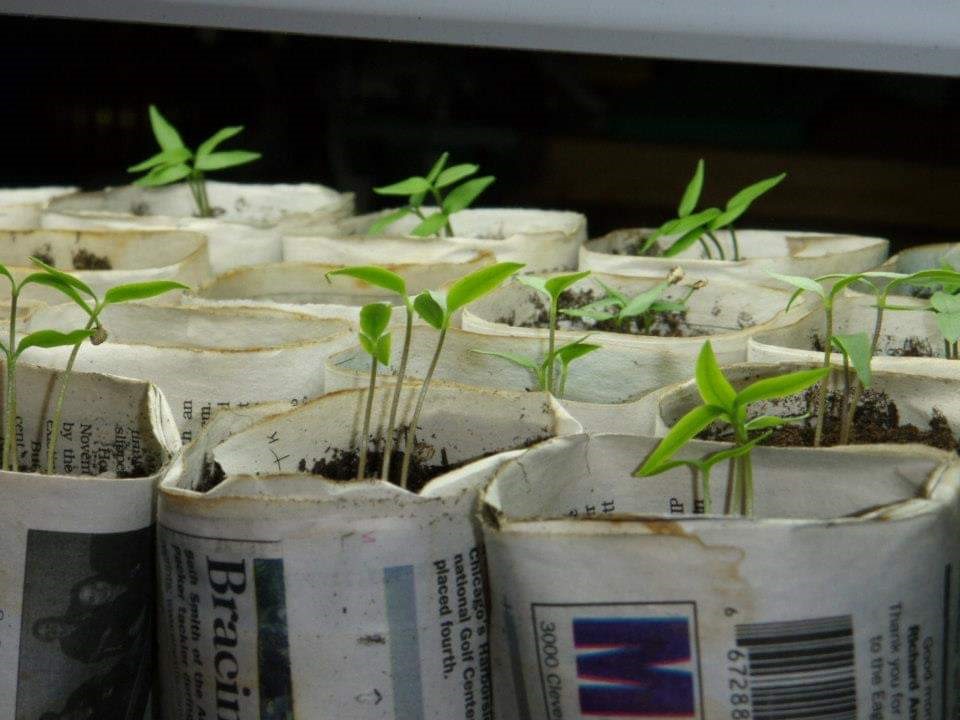
Above Picture: Newspaper planting pots.
Finally, you will need something to hold your lights, heaters, and planting trays. Here is where your creativity can really shine. Racks can be made from wood, metal, or pvc pipe. You can use an old table, book shelf, purchased rack, or build one to fit your needs.
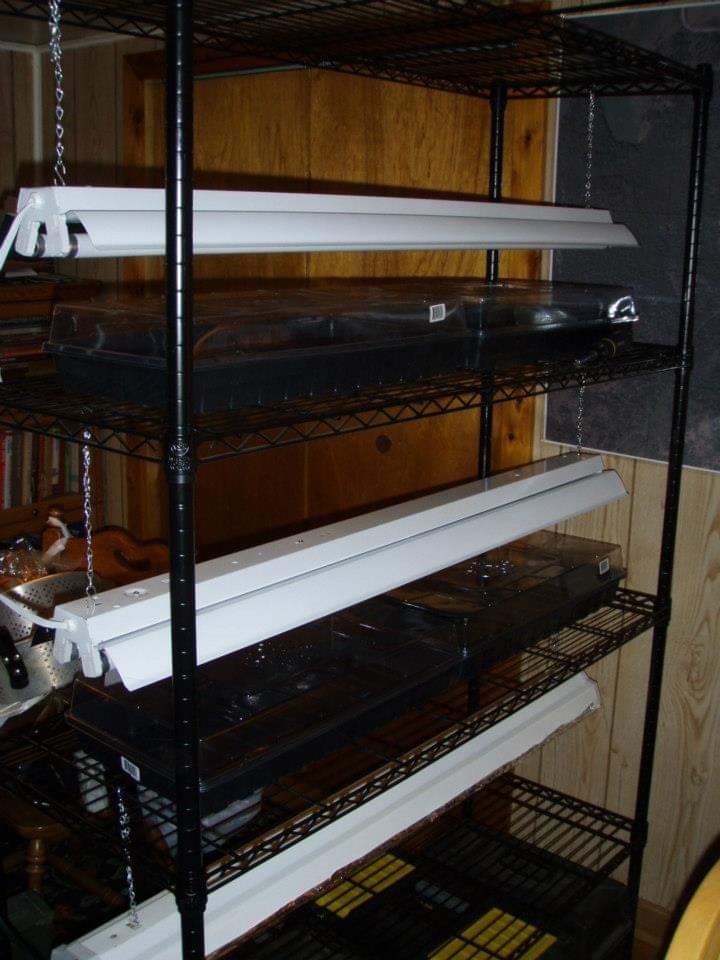
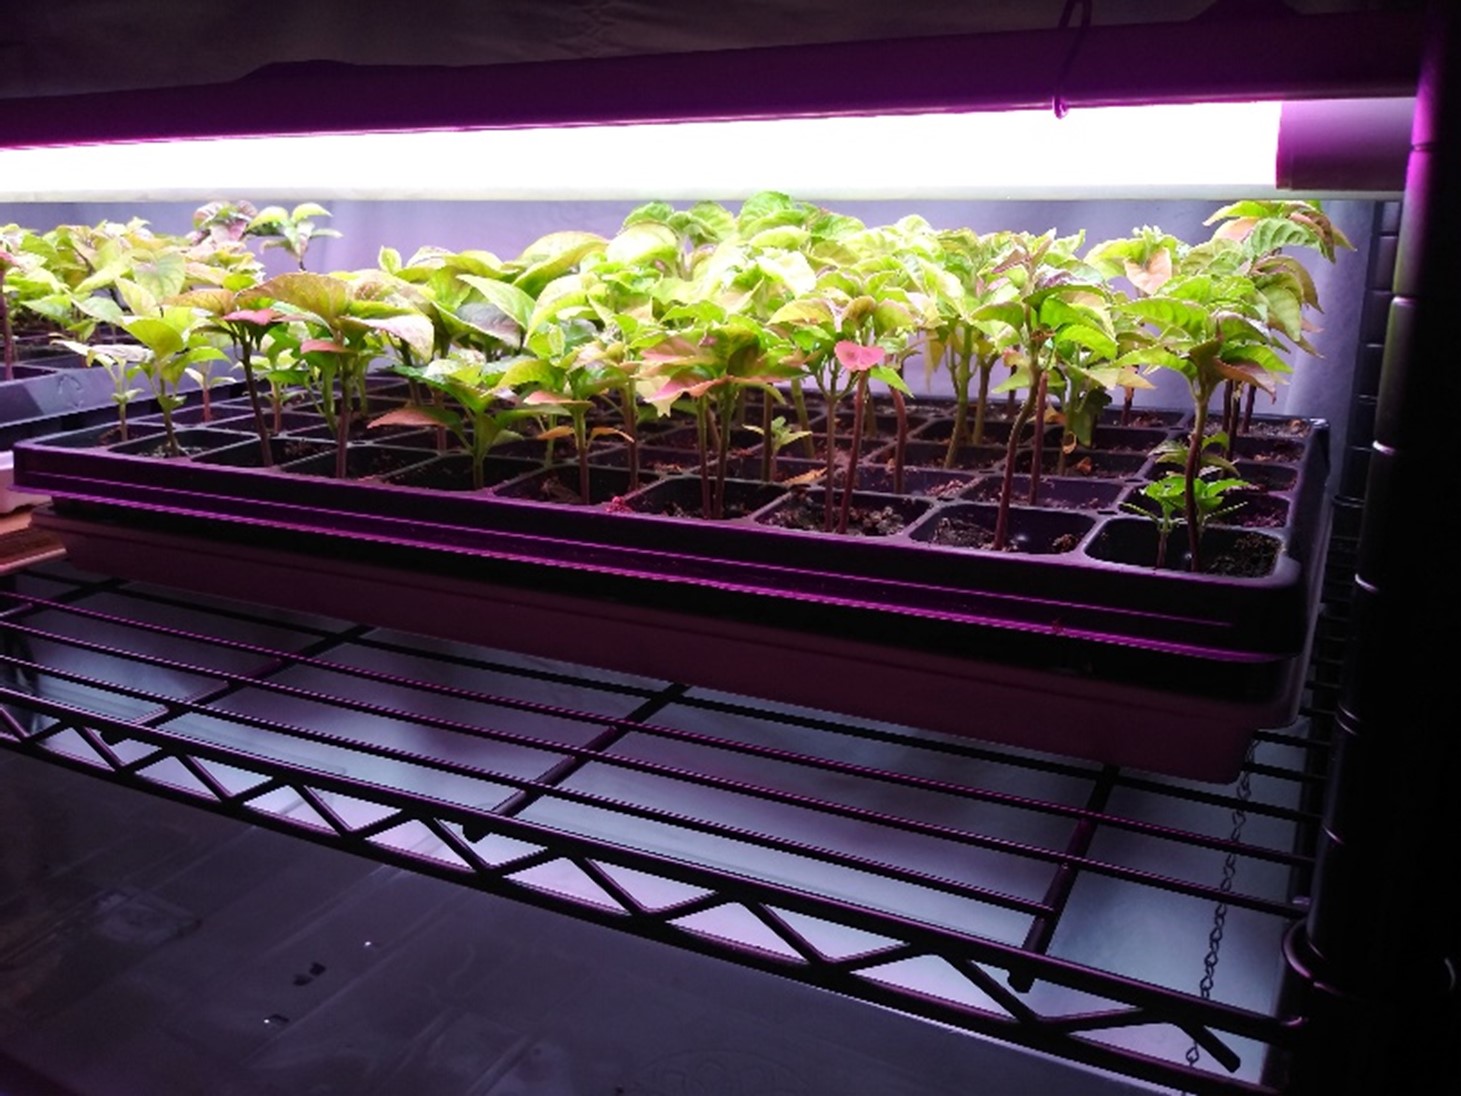
Above Picture: A simple, but effective, grow rack set up. I have since changed light fixtures from the double bulb fixtures shown here to light fixtures that hold four bulbs.

Above Picture: Grow rack mid-season.

Above Picture: Grow rack just before moving them out to the garden, after proper hardening off.
I recommend that you use power strips to separate your lights from your heaters, so that the heaters are on even when the lights are off.
Your transplants cannot go directly from the grow rack to your garden without a period of “hardening off”. Since your new plants emerged from the soil they have not had to deal with full sunlight, wind, and night time to daytime temperature swings, all of which can be a shock to these young plants. To help with that you need to set your plant trays outside, on a nice day, for 4 hours or so the first day, water well, and then bring them inside after about four hours. You do this every day for a week, each day leaving them out for a longer and longer period. That step can be a pain, but it is very necessary! At the end of the week they can be left outside overnight, but keep an eye on the temps for frosts. It is not too late to start a few things for your summer garden, but time is running out.
Happy Gardening, Scott

About the Author: Scott Veriha is a retired Navy Submariner, beekeeper, gardener, orchardist, and student of nature. Scott completed a degree in Environmental Science, in 2014, from the University of Wisconsin Green Bay. Scott is the owner and operator of Sweet Spot Apiary, Sugar Bush, and Truck Farm.
Be sure to check out our hundreds of our Plant Care videos at our YouTube channel by clicking below.
