
Building the Basic Bee Hive
Posted by Scott Veriha on Feb 8th 2020
I left you all off with a brief introduction to my myself and my beekeeping, along with a hint at some of my other interests. We will continue with the first style of Bee Hive that I got started with, and continue to use to this day, the Top Bar Hive.
The Top Bar Hive (TBH) is one of the oldest styles of bee hive, and has records of use that go back 2,000 years. The basic design is a five-sided box, or trough, with bars laid across the narrow width of the open top. The bees attach their combs to the underside of the bars. This simple arrangement allows for the removal of individual bars/frames for inspection, and harvest. The body of the hive can be made from mud and waddle, sticks, scrap lumber, modern dimensional lumber, and I have even seen one made almost entirely of sunflower stalks. The limits are really your imagination, and making sure you follow any bee keeping regulations that may apply.
I started with the TBH, as it was a hive that I could build with limited tools and local materials, one that was simple in construction, and because I like being different. This style of hive fit all three, plus it was cheap. I built three full hives for 150.00 dollars. At that same time, a complete Langstroth hive, even building the boxes, and buying the frames, would have run me about 200.00 per hive. A TBH can be completely built with hand tools, which is another reason that it is popular with African, and Central and South American beekeepers who are subsidence farming. In my next post I will go deeper into the Langstroth hive and its design, along with the concept of bee space, but for now we will keep this simple.
I decided to use standard dimensional lumber from the local box store for these hives, besides it was on sale. The first big problem with TBH’s is that there is not a world-wide standard for the size of the hives, or the various sizes of the working pieces. My original plans called for a box four feet long, with twelve-inch sides, and sixteen-inch top bars.See below:
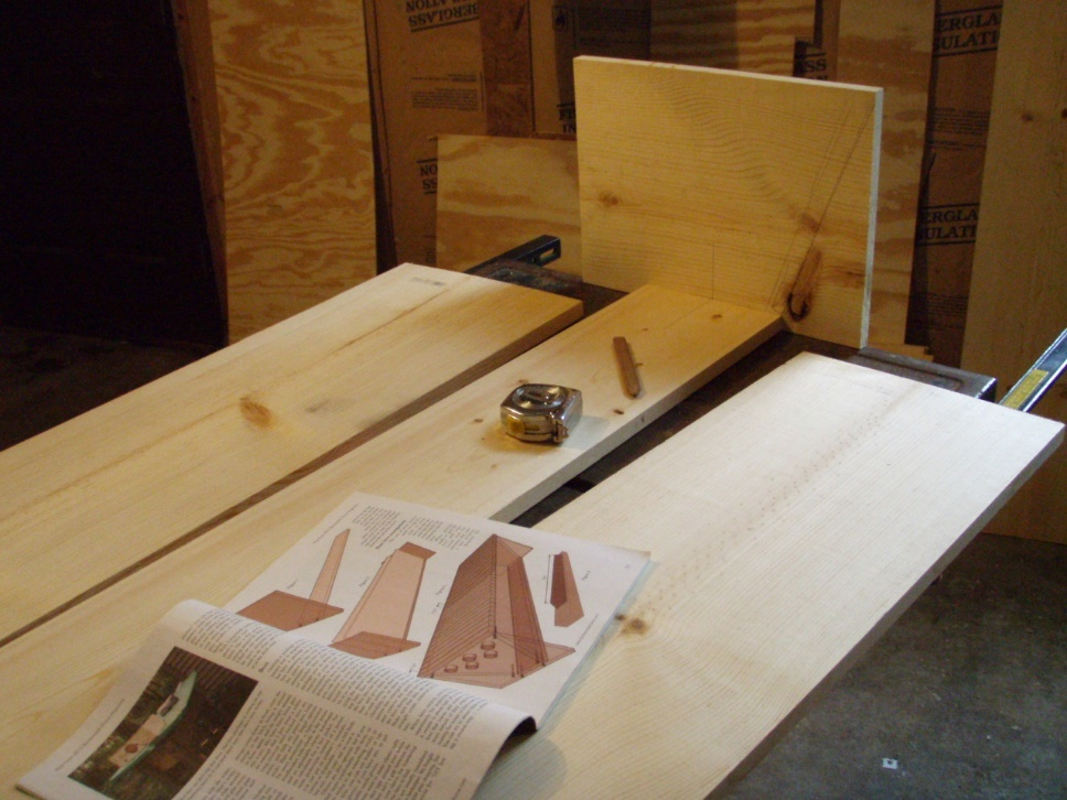
Above Photo: TBH Bottom, Ends, and Sides, cut and ready for assembly
This size works, but in my cold northern climate these hives ultimately ended up being too small. In a warm climate, bees bring in honey over a long period of the year, in a cold climate just the opposite. I get a short, and intense, honey flow that can fill up a TBH that is too small, which leads to management issues. I am still using a few of them, but they will be cut up to make other hives in the next year or two. My current hives are six feet long, twelve-inches deep, and have twenty-three-inch bars, they do not fill up fully, even with the best queens, strongest hives, and best nectar flows.
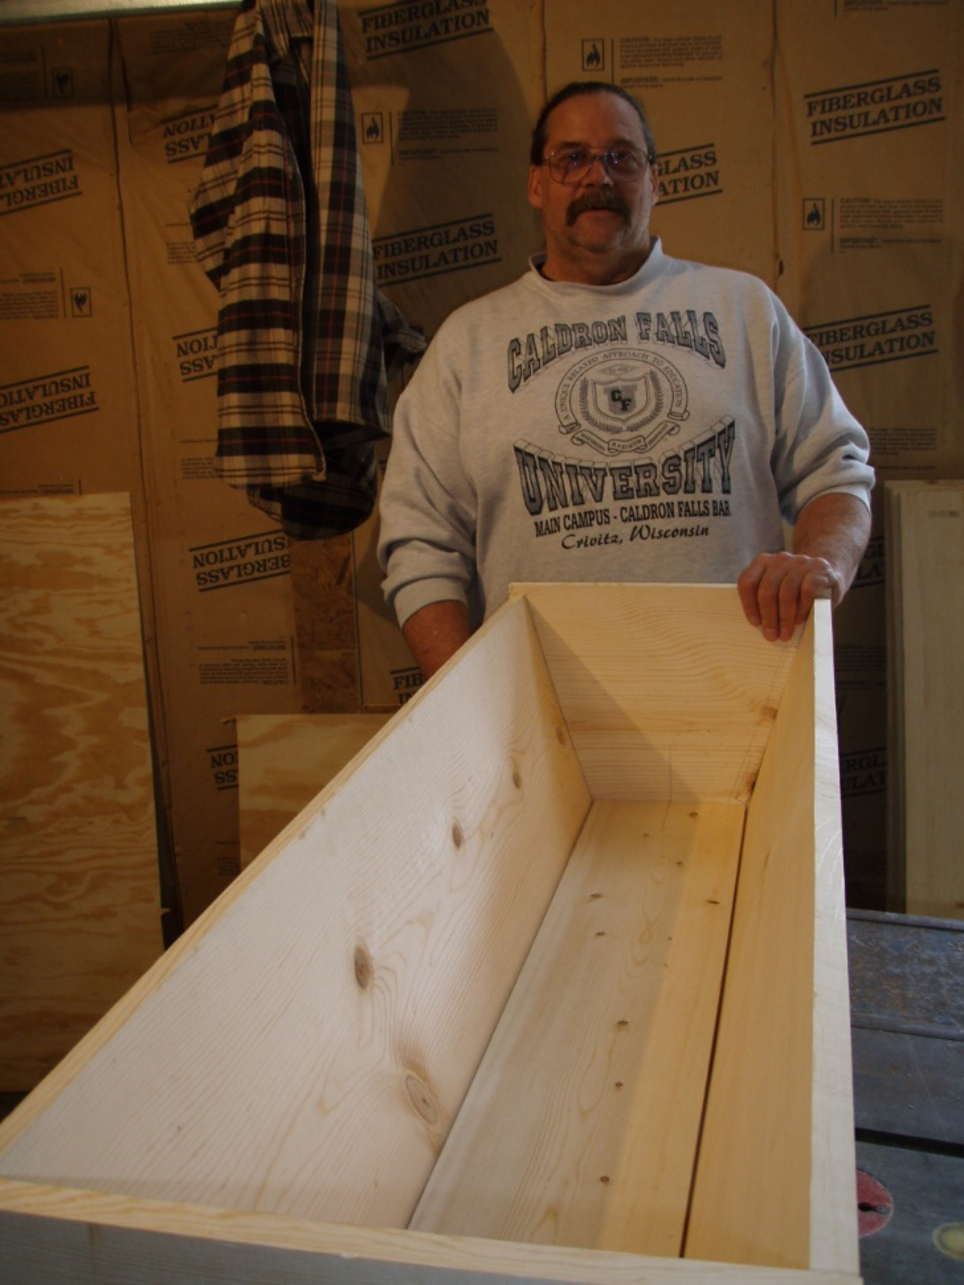
Above Photo: Hive Body Assembled, my friend Mike
My original TBH hive body size, minus the bars. Pictured is my good friend Mike who was gracious enough to let me use his garage, and lend a hand when needed.
Top bars and Comb Guides, these are the working end of this style of hive, and are the only support structure for the wax comb, other than a little attachment to the inside, sides, of the hive. The top bars allow me to conduct hive inspections, move bees from hive to hive, and to harvest honey. Bees also build two different thicknesses of comb, Brood Comb that they use to raise more bees, and hold limited supplies, these are thinner, at around an inch thick. Honey Comb on the other hand, is typically, one and a half inches thick, but can be thicker. The varying thicknesses of comb can cause problems with cross combing of the top bars. Cross combing is where the bees build one comb across two top bars, locking them together. In order to work around this, I use two different widths of top bar, one for the brood nest, and one for the honey storage. Comb Guides give the bees a starting point so that they start the comb centered along the length of each, individual, top bar. Comb guides can be made from small scraps of leftover wood cut into strips, or triangles, popsicle and paint sticks glued into a cut-out groove in the top bar, or even as simple as running a nice bead of melted wax along the top bar. Comb Guides are really only needed on the first dozen top bars. Once a comb is drawn out, placing a top bar between two fully drawn combs will keep them on track.
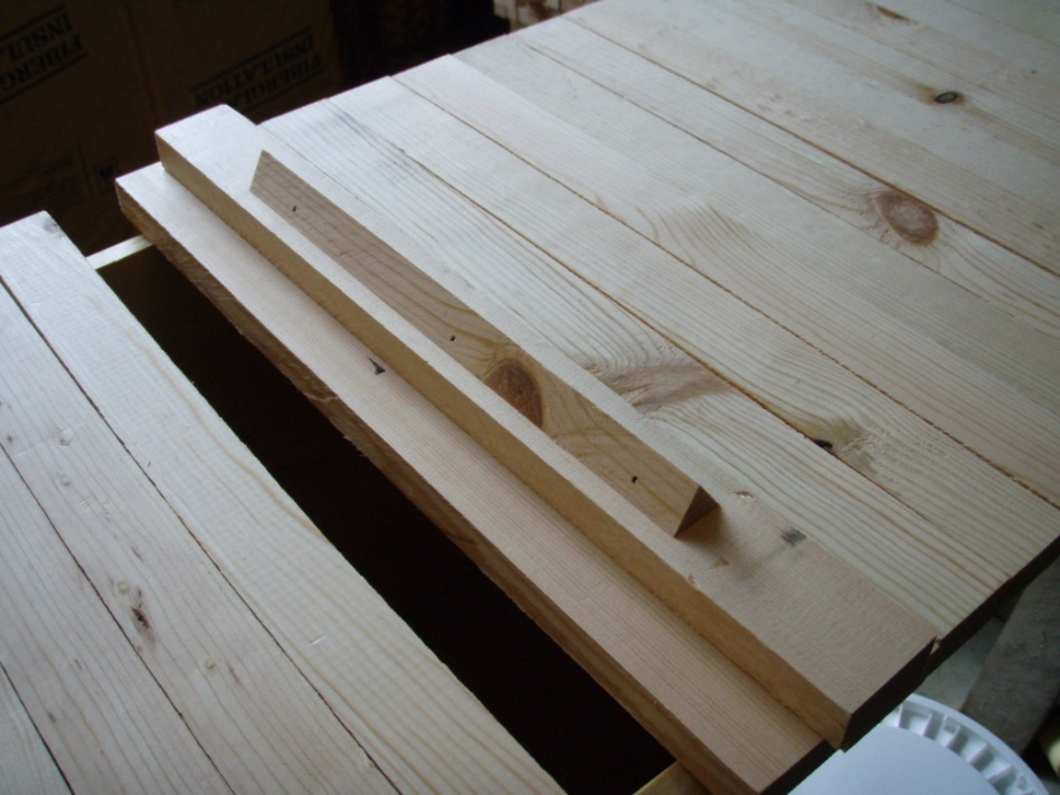
Above Photo: Top Bar, with Comb Guide. Top bars, with one turned over to show comb guide.
Stands and Roofs, TBH’s, like other hive styles, can be set on the ground (Not Recommended for long periods of time), on pallets, on concretes blocks, or on stands built to any comfortable height for the beekeeper. Stands can be completely separate, or attached as in below:
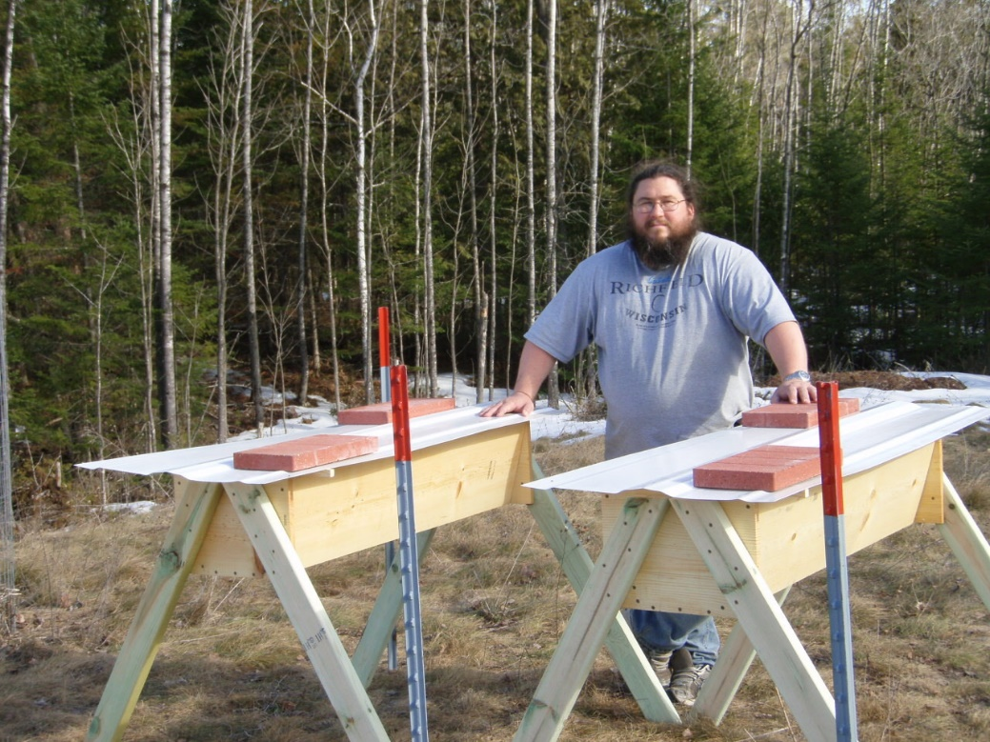
Above Photo: Completed and Placed Hives ready for bees
Beekeeping can be labor intensive, even if you are in good physical health. TBH’s have allowed many aging beekeepers to continue with their love of bees due to the versatility of setting them up to various heights, and only having to move individual top bars, once the hives are in place. The roof of the TBH is only there to keep rain from getting into the hive between the bars, and to keep the direct sun off the bars. During a hot summer, even in the north, the top bars can heat up enough to cause a heavy honey comb separate, and fall off.
When bees start building a new comb, in any hive, they hang from the attachment point by their legs, the bees producing wax are part of a living plumb bob. By hanging in plum bob fashion, they end up making combs that are vertical regardless of the orientation of the hive body. This is the last big consideration with this hive. The TBH must be as level as possible once it is placed, or the bees will build combs that are slanted, relative to the hive body. This can cause problems when moving combs in the hive, and between hives. The following three photos show the general progression of bees building new comb in an empty hive.
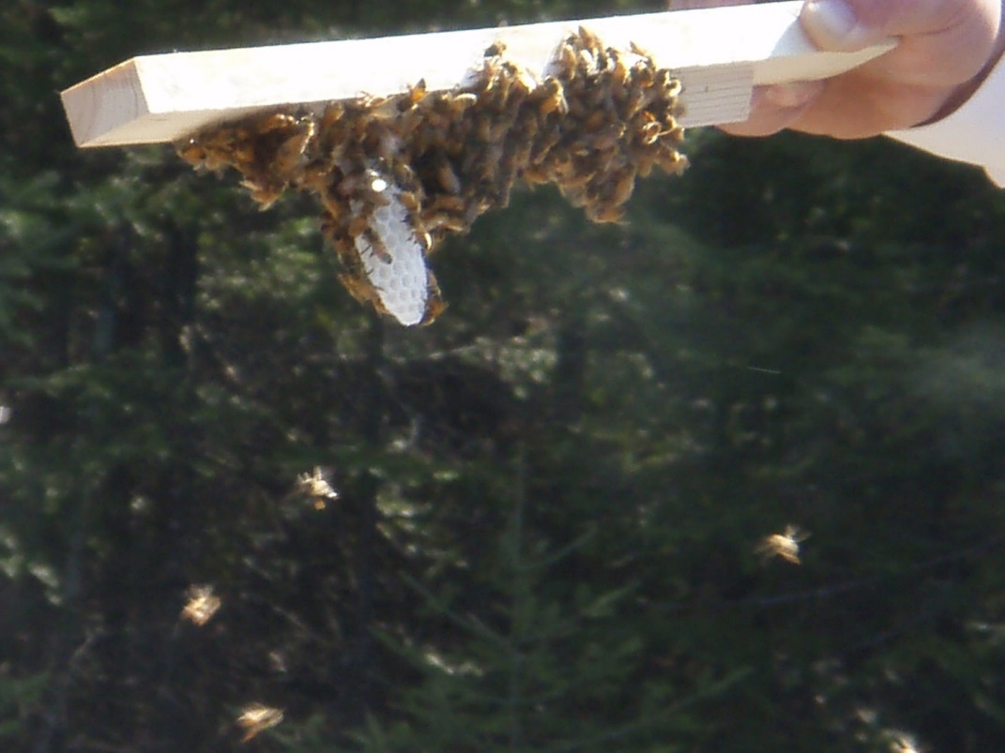
Above Photo: Bees Starting the First Comb
Below Photo: Brand new started comb, fresh white wax.
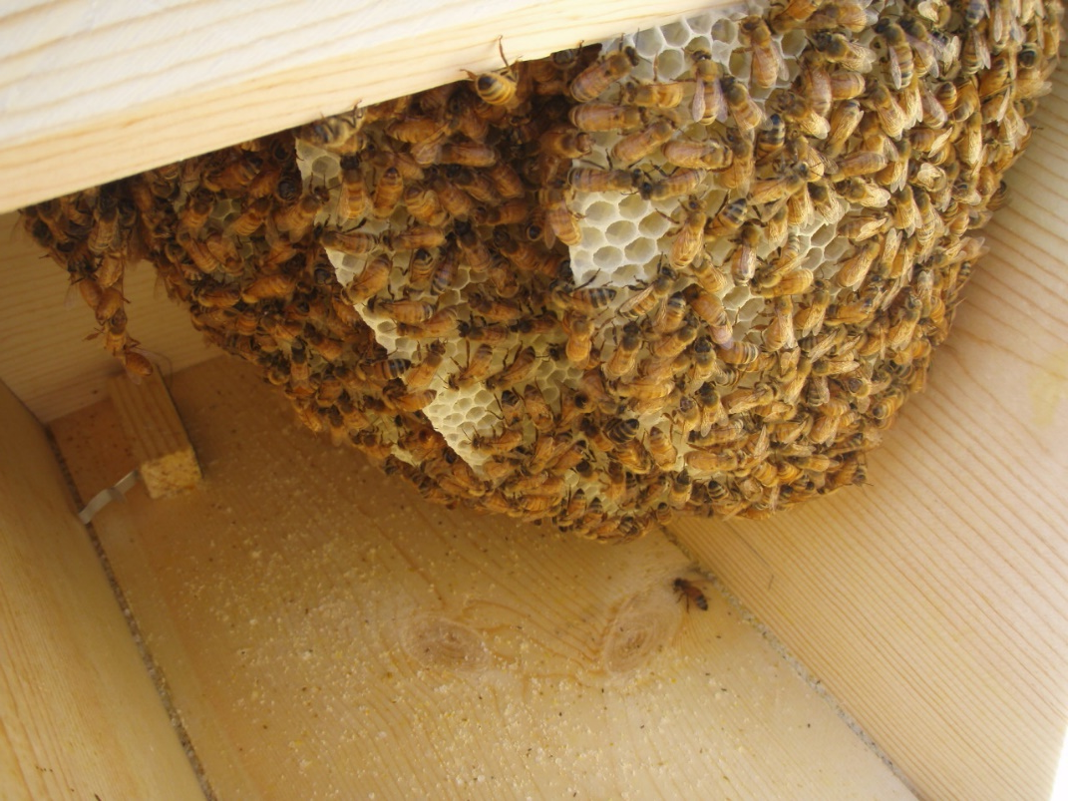
Above Photo: Four Combs Started - taken six days later, they are up to four started combs, with the furthest back being the first one.
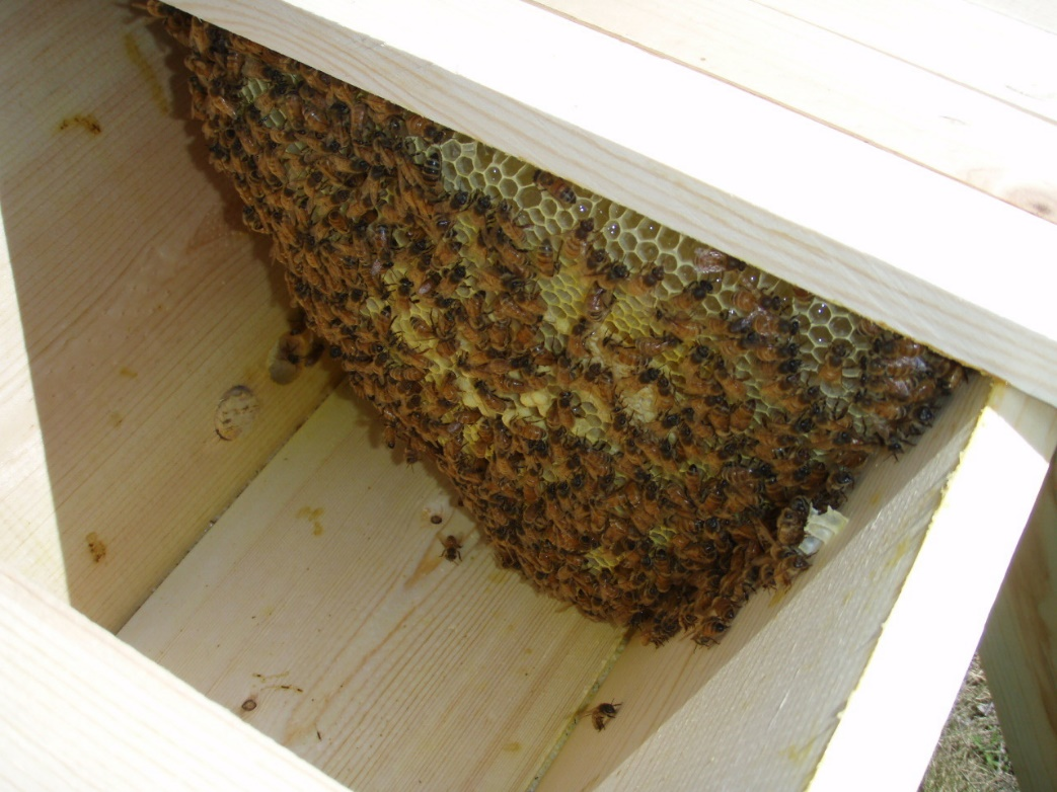
Above Photo: Fully Drawn Out Comb
Fully drawn out comb, they build all combs to fit the internal space that they are in. If you look closely you might be able to make out capped baby bee cells, in the middle of the comb, and uncapped honey, in a band, across the top of this last photo.
Now for that Honey Ginger Lemon Syrup!
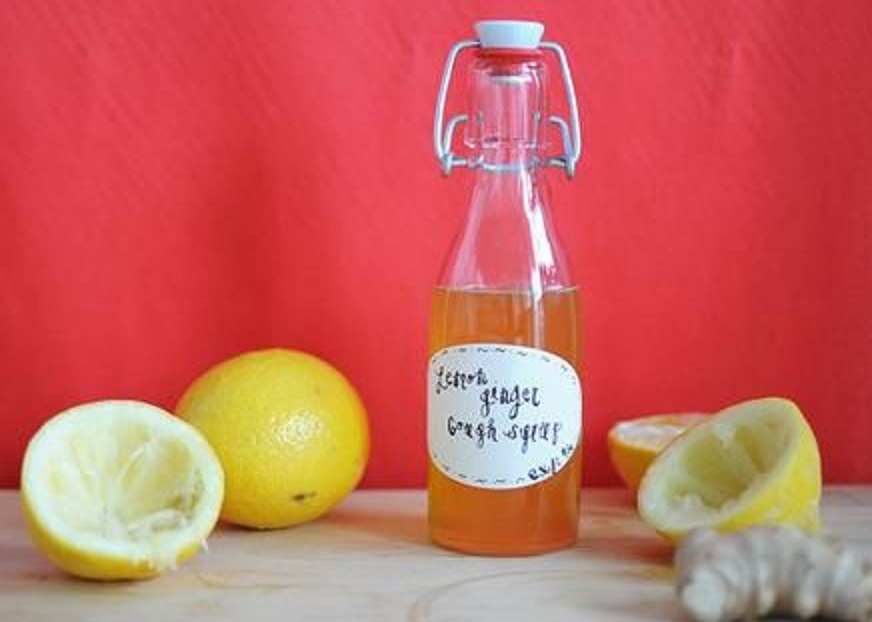
Honey Ginger Lemon Syrup: Remove stickers and wash 2 to 3 lemons, slice thin, do not peel. No need to remove seeds unless you wish to. Peel ginger root, approximately 5 inches of root, ginger peels well with a spoon, just rub gently. Slice ginger about an 1/8 inch thick. Alternately layer ginger and lemons slices into a clean, quart sized, mason jar. Do not pack tight. When the jar is filled carefully pour honey into the jar, removing as many air bubbles as possible. The handle of the spoon, or a chopstick work well for this. Place lid and ring on jar and place in refrigerator. Twice a day remove jar and shake. You will notice that the honey is getting thin from absorbing the lemon juice, lemon oil, and the good stuff from the ginger. Syrup is good to use after four days, but I like to make it at least two weeks before hand. A teaspoon of the syrup, straight up, does well at soothing that scratchy and sore throat, a tablespoon can be mixed into a qt of soda water to make a refreshing year-round drink, and the syrup is also good in your favorite tea! I typically make four quarts at the end of my honey harvest, and that gets me thru the winter.
Peace, Scott


About the Author: Scott Veriha is a retired Navy Submariner, beekeeper, gardener, orchardist, and student of nature. Scott completed a degree in Environmental Science, in 2014, from the University of Wisconsin Green Bay. Scott is the owner and operator of Sweet Spot Apiary, Sugar Bush, and Truck Farm.